
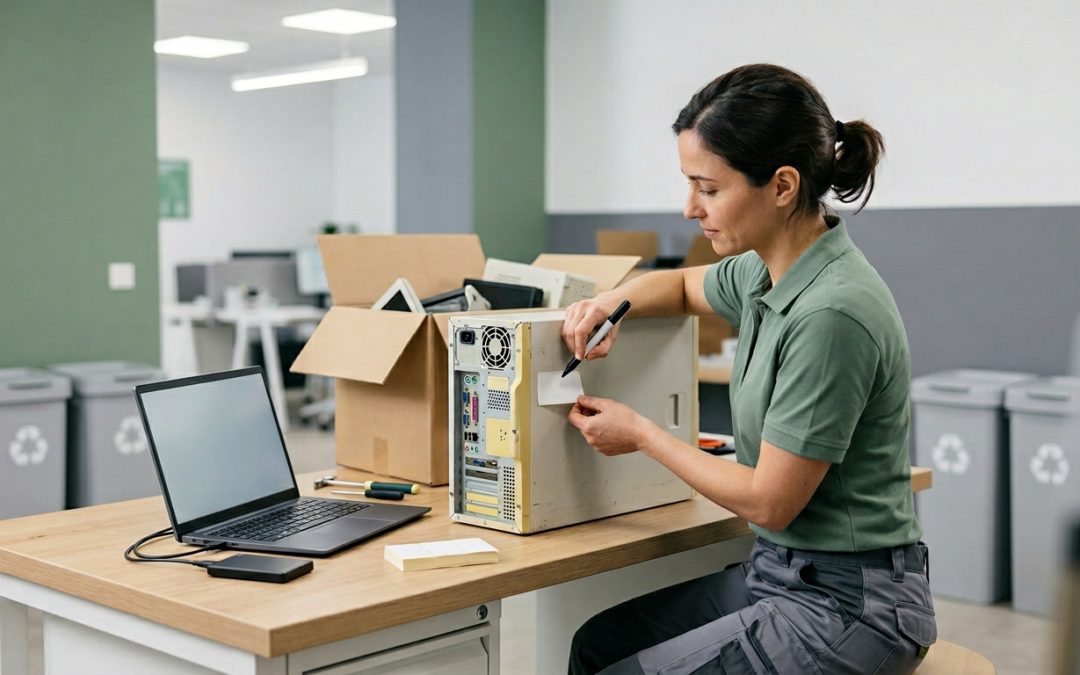
Before You Recycle: Essential Preparation Steps
So you’ve decided to recycle your old computer rather than letting it collect dust in a cupboard. That’s a great decision for the environment. But before you drop it off at a recycling point or hand it over to a collection service, there are several important steps to take. Proper preparation protects your personal data, ensures the computer can be processed efficiently, and may even help someone else get use from it if it’s still functional.
This guide walks through everything you need to do before your old desktop or laptop leaves your hands.
Step 1: Back Up Everything You Need
Before touching anything else, make sure you’ve saved all the files, photos, documents, and data you want to keep. It sounds obvious, but many people forget files stored in unexpected places like the desktop, downloads folder, or application-specific directories.
Check these common locations: Desktop, Documents, Downloads, Pictures, Videos, Music folders, browser bookmarks, email archives (if using a desktop email client), and any application data folders for software you use regularly.
You can back up to an external hard drive, USB drive, or cloud storage service. If you’re moving to a new computer, this is the time to transfer everything across. Once you’ve verified your backup by checking a few files on the destination device, you’re ready for the next step.
Step 2: Sign Out and Deauthorise
Before wiping your computer, sign out of all accounts and deauthorise the device where applicable:
Sign out of your Microsoft or Apple account. On Windows, go to Settings > Accounts and remove your Microsoft account. On Mac, go to System Settings > Apple ID and sign out of iCloud, which will remove Find My Mac and Activation Lock.
Deauthorise iTunes/Apple Music if you use it. You have a limited number of authorised devices, and forgetting to deauthorise a recycled computer wastes one of those slots.
Sign out of subscription software like Adobe Creative Cloud, Microsoft 365, or any other software tied to your account with device limits.
Unpair Bluetooth devices. Remove any paired headphones, keyboards, mice, or other peripherals from the computer’s Bluetooth settings so they don’t try to reconnect to a device that’s no longer yours.
Step 3: Wipe Your Data Properly
This is the most important step, and the one most people either skip or do inadequately. Simply deleting files or emptying the recycle bin does not remove your data. The files remain on the storage drive and can be recovered with freely available software.
A factory reset alone is also insufficient for thorough data protection. While it restores the operating system to its default state, data can often be recovered from a factory-reset device.
For Windows computers with SSDs: Use the built-in Reset feature (Settings > System > Recovery > Reset this PC) and select “Remove everything.” Windows 10 and 11 include an option to “Clean the drive” which performs a more thorough erasure. For SSDs, this typically triggers the drive’s internal secure erase function.
For Windows computers with traditional hard drives: The “Clean the drive” option during reset will write zeros across the drive, which is reasonably effective for personal use. For more thorough erasure, use a dedicated data wiping tool that follows the NIST 800-88 Clear method.
For Mac computers: Restart into Recovery Mode (hold Command+R during startup for Intel Macs, or hold the power button for Apple Silicon), open Disk Utility, select your startup drive, and use the Erase function. For SSDs in modern Macs, the erase function leverages the drive’s hardware encryption, rendering previous data unrecoverable.
Step 4: Remove External Storage
Check all ports and card slots for removable media that’s easy to forget:
SD cards and microSD cards in card reader slots. These often sit flush with the laptop case and are easy to overlook. They may contain photos, documents, or other personal data.
USB drives plugged into rear ports on desktops can go unnoticed, especially if they’re being used for persistent storage or backup.
CDs or DVDs in optical drives. Yes, some older computers still have them, and it’s not uncommon to find a forgotten disc inside.
Step 5: Gather Accessories and Cables
If your computer is going to a recycling service or collection point, include the power cable and charger. For laptops, the charger is essential if the device is going to be refurbished for reuse. For desktops, include the power cable.
You don’t generally need to include peripherals like keyboards, mice, or monitors unless the collection service specifically requests them or you want to recycle those items too. These items have their own recycling pathways and some collection points handle them separately.
Step 6: Assess Whether It’s Worth Donating or Selling
Before recycling, consider whether your computer still has useful life in it. If it’s less than 5-6 years old, runs a current operating system, and is in reasonable physical condition, it may be more valuable as a donation or sale item than as recycling material.
Several organisations accept working computers for refurbishment and redistribution to community organisations, schools, and individuals who need them. If the computer is functional, this is a better environmental outcome than recycling because it extends the device’s useful life.
If the computer is truly past its useful life, too old for current software, too damaged for reliable use, or simply not worth the effort of setting up, then recycling is the right path.
Step 7: Find Your Recycling Option
In Australia, you have several options for recycling old computers:
Council e-waste collection events are held periodically in most local government areas and accept computers and peripherals for free. Check your council’s website for dates and locations.
Permanent drop-off points at transfer stations and recycling centres accept e-waste year-round in many areas. In Victoria, the e-waste landfill ban means these facilities are widely available.
Retailer take-back programs from major electronics retailers accept old computers when you purchase a replacement.
Dedicated e-waste collection services offer pickup for larger volumes, which is particularly useful for businesses retiring multiple machines.
The key is ensuring your old computer reaches a responsible processor. With a bit of preparation before recycling, you protect your personal data and give the device or its materials the best chance of a useful second life.
EWV helps Victorian businesses manage e-waste and IT asset disposal compliantly and sustainably — including collection, certified data destruction, and recycling. Contact us for a free quote.